Installing Roller Shades for Window Treatments
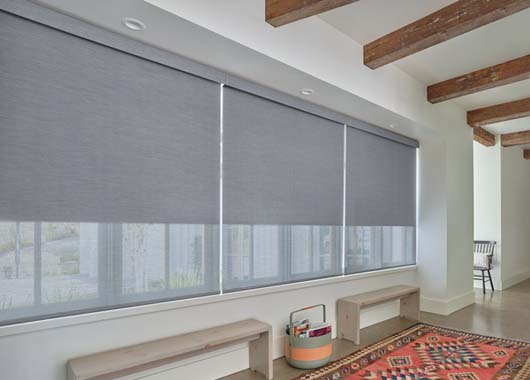
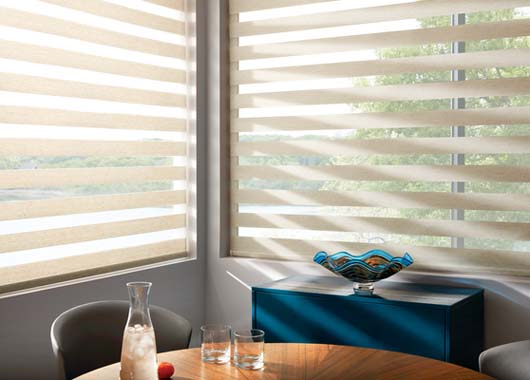
Roller shades are a popular alternative for window treatments for their clean and modern look. They are available in various materials, colors and patterns to fit your specific needs. Here are some tips on installing roller shades for window treatments.
Step 1 – Decide Inside or Outside Mount
First and foremost, you decide how to mount your shades. You can mount them outside of your windows (basically, on the walls) to completely cover the window area. This creates clean lines since all you will see when the shades are drawn are the actual shades. Alternatively, you can mount them inside of the windows. This leaves the trim around your windows visible. Rather than mounting onto the walls, you would mount them to the window frame. With two different looks, it all comes down to what you prefer for both functionality and visual appeal.
Step 2 – Measure & Purchase
Now that you know how you’d like to mount your shades, it’s time to measure. For outside mounts, measure beyond the window frame since the shades will need to fully cover the space. Be sure to get both the width and height. For inside mounted shades, measure the internal space of the window area. Again, don’t forget both width and height. For the width, you’ll need a little gap on either side so the shades can roll up and down without scraping the window frame. You can use these measurements to purchase your roller shades and have them cut to your precise needs.
Step 3 – Mount Brackets
Once your roller shades arrive, it’s time to mount them. Be sure to read and follow the included instructions carefully. There are slight differences in installation based on the style of shade, the manufacturer, and whether you are mounting inside or outside the window. Measure the distance carefully and make sure it’s level before screwing in the brackets. Also, when mounting onto drywall, be sure to use the drywall anchors provided. This will help your roller shades stay in place, especially given the daily movement of the shades.
Step 4 – Insert, Test, and Enjoy
The next and most exciting step for installing roller shades is to attach the shades to the mounting brackets. Make sure the shades are facing the correct direction. Test that everything is secure by rolling the shades up and down a few times. They should move without scraping any surfaces. If all looks good, then you’re done! Enjoy your new roller shades!
Professional Help with Installing Roller Shades
If you’re handy, then the steps above will seem pretty straight forward to you. If you’re not so handy, it can be easy to make mistakes such as incorrect measurements, damaging drywall or window frames, or crooked installation. Consider getting professional help with measuring, ordering and installing your window treatments. At Lynne Greene Interiors, we’re here to make the process easy for you. Stop by our Burlington, MA showroom to preview samples and for assistance with the entire process.